Thinking About Tearing Down That Old Wallpaper?
So, you've got some old wallpaper staring you down, maybe in a spare bedroom or the dining room, and you're thinking, "I can do this myself." You probably can, for the most part. But let me tell you, wallpaper removal isn't always as simple as just peeling it off. Sometimes it's a breeze, other times it's a nightmare that makes you wish you'd never started. As a local contractor with All Things Painters, I've seen it all, from easy-peasy strips to wallpaper that practically fused with the drywall.
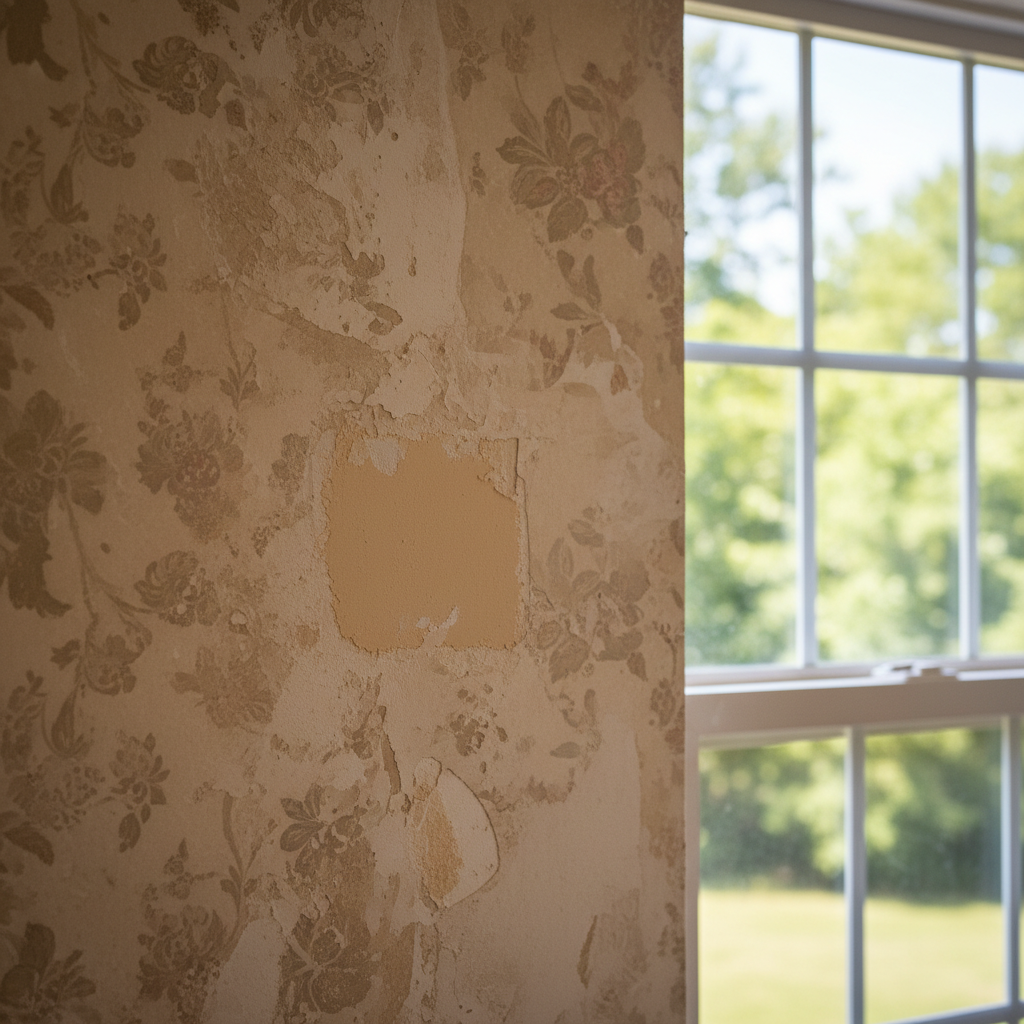
Before you even think about grabbing a scraper, you need to figure out what kind of wallpaper you're dealing with. This is step one, and it's a big one. Is it strippable? Peelable? Or is it one of those old vinyl-coated papers that practically laughs at you? A quick test can save you a ton of frustration. Find a loose corner, or gently score a small, inconspicuous spot with a utility knife. Try to pull a piece away. If it comes off in full sheets, you're in luck – that's strippable. If the top layer peels off, leaving a paper backing, that's peelable. If it just tears into tiny bits and fights you every inch of the way, you've got a challenge on your hands, likely an older, non-vinyl paper that’s been there since the 70s.
What You'll Need to Get Started
Alright, you've assessed the situation. Now for the tools. Don't skimp here; having the right gear makes a world of difference. You'll want:
- A good, wide putty knife or wallpaper scraper.
- A scoring tool (those little spiked wheels are great for perforating the paper).
- A spray bottle.
- Hot water and dish soap, or a dedicated wallpaper stripper solution.
- Drop cloths – lots of them. Wallpaper removal is messy.
- A bucket and sponges for cleanup.
- Safety glasses and gloves.
- A utility knife for trimming.
If you're dealing with a really stubborn paper, you might even consider renting a wallpaper steamer. They can be incredibly effective, but they also introduce a lot of moisture, so you need to be careful not to overdo it and damage the drywall underneath.
The Nitty-Gritty: How to Get It Off
First things first, clear the room. Move all furniture out, or at least to the center and cover it well. Turn off the power to the room at the breaker box, especially if you're working near outlets or light switches. You don't want any surprises when you're spraying water around.
For strippable paper, you might just be able to start at a corner and slowly pull it down. Go slow and steady to avoid tearing the drywall paper. If it resists, try pulling at a different angle. For peelable paper, peel off the vinyl top layer first, then you'll deal with the paper backing.
Now, for the tough stuff – the paper backing or the non-strippable types. This is where your spray bottle or steamer comes in. Score the entire surface of the wallpaper with your scoring tool. Don't press too hard; you just want to perforate the paper, not gouge the drywall. Once it's scored, generously spray a section with your hot water/soap solution or stripper. Let it soak for 10-15 minutes. This is crucial. Don't rush it. The water needs time to penetrate the paper and reactivate the adhesive.
After soaking, start scraping from the bottom up, or top down, whatever feels more comfortable. Keep your scraper at a shallow angle to avoid digging into the wall. Work in small sections, re-spraying and re-soaking as needed. You'll likely have multiple layers of paper and adhesive to contend with, especially in some of those older homes around the Turnpike section of Oak Ridge. It's a slow process, so put on some music or a podcast and be patient.
After the Wallpaper is Gone: Wall Prep
Once all the wallpaper is off, you're not done yet. You'll have adhesive residue left on the walls. This stuff needs to go. If you paint over it, you'll have adhesion problems and a bumpy finish. Use a sponge and warm water to wash down the walls, scrubbing gently to remove any remaining glue. You can also use a specialized adhesive remover if it's really stubborn. Rinse the walls thoroughly with clean water afterward.
Let the walls dry completely. Then, run your hand over them. Feel for any rough spots, gouges, or areas where the drywall paper might have torn. You'll need to patch any holes or damage with joint compound and sand them smooth. Prime the walls with a good quality, oil-based primer, especially if there's any chance of residual adhesive or stains. This will seal everything in and give your new paint or wallpaper a perfect surface to adhere to.
When to Throw in the Towel and Call a Pro
Look, I get it. DIY is satisfying. But there are times when it's just not worth the headache, the time, or the potential damage to your walls. Here's when you should seriously consider calling All Things Painters:
- Lead Paint Concerns: If your home was built before 1978, there's a chance of lead paint under that wallpaper. Disturbing it can be hazardous. We know how to handle this safely.
- Plaster Walls: Older homes often have plaster. It's more delicate than drywall and can be easily damaged by aggressive scraping or too much moisture.
- Extensive Damage: If you're finding a lot of drywall damage as you go, or if the paper is just absolutely refusing to budge, you could end up doing more harm than good.
- Time is Money: This job can take days, sometimes even weeks, for a large room. If your time is valuable, or you just want it done right and fast, a professional crew can get it done efficiently.
- You're Just Plain Frustrated: Trust me, I've seen homeowners ready to pull their hair out over a stubborn wall. Sometimes, it's okay to admit defeat and let someone else tackle it.
We're here in Oak Ridge, and we've got the experience and tools to handle even the toughest wallpaper removal jobs without damaging your walls. Give us a call if you hit a snag, or if you just want to skip the mess entirely. We're happy to help you get those walls ready for a fresh new look.